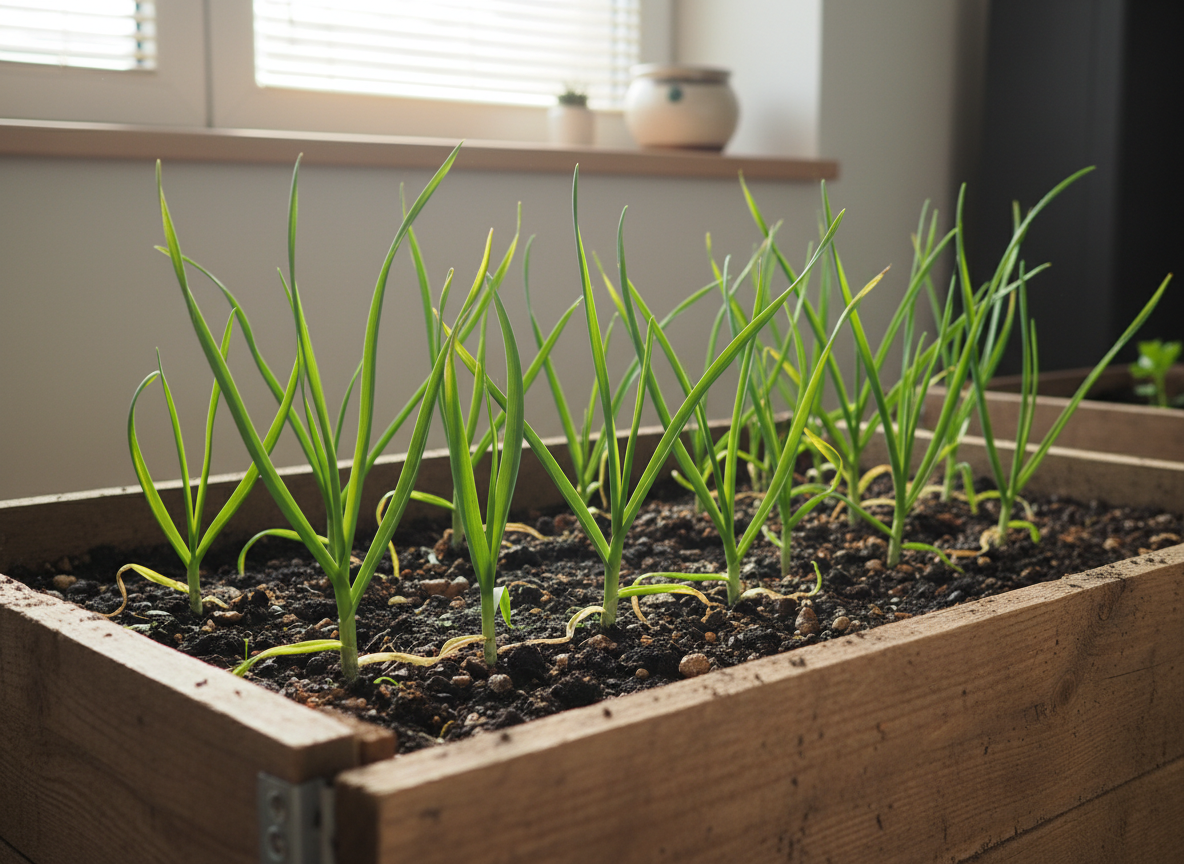
Planting garlic in Florida can be challenging but our little kitchen garden at Old Buckeye Road is one experiment after another. We have found this method works in our area and soil. Let’s walk through how we do it—it’s simpler than you might think.
Old Buckeye Road Garlic
Step 1: Chill the Bulbs
We start by storing our garlic bulbs in the refrigerator for a couple of weeks. This chilling period helps signal to the bulbs that winter is coming, which triggers the cloves to be ready for planting. It’s a simple but important step that mimics the natural conditions garlic prefers.
Step 2: Separate the Cloves
After the chilling period, we gently separate the bulbs into individual cloves. We like to do this by hand, carefully peeling away the papery outer layers and gently coaxing each clove apart. Each clove will become its own garlic plant, so we are careful to keep them intact and undamaged.
Step 3: Start the Roots in Water
Here’s where the magic begins—we place the cloves in a shallow dish or jar of water. Within days, we can see tiny white roots beginning to emerge from the bottom of each clove. This head start is wonderful because the cloves are eager to grow, and we get to watch the whole process unfold. We change the water every couple of days to keep it fresh.
Step 4: Plant in Containers
Once the roots have started to develop nicely, we plant the cloves in containers filled with good-quality potting soil. We nestle each clove about an inch deep into the soil, with the pointed end facing up. Then we water gently and place the containers in a sunny spot. From there, patience does the work—the garlic will grow steadily through the fall and winter months.
Come spring, we’ll be rewarded with beautiful garlic plants. Give it a try—we think you’ll love it too.


Leave a Reply